How to Take Screenshot in Windows 10 PC in 6 simple ways
A screenshot is a picture made on your computer of anything. Today we’ll demonstrate you how to take a Windows screenshot. It’s amazing how long this easy ability has taken to perfect. Since the first PCs (although this text-based choice differs from today’s raster screenshots), Windows has had screen-printing capacities, but even the recent Windows update, version 1903 (aka May 2019 Update), introduced some fresh screenshot features. As a consequence, it is more versatile and strong than ever to take a screenshot on pc of the recent Windows 10 edition.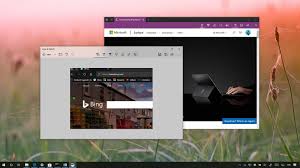
On just about any website you can take a screenshot and it’s no unique to take screenshots in Windows. It has an integrated choice that operates good for fundamental assignments, but many third-party programs provide more user-friendliness and characteristics. I’ll demonstrate you a couple of distinct methods to take a screenshot on pc in Windows 10 in this post.
Must Visit:- Top 10 Free Ways to Convert Audio Files to Text
Method 1– By the use of Print Screen Key.
Your keyboard’s Print Screen button can take a screenshot and then save it as a file, take a screenshot without saving it as a file, or take a screenshot of just one window (instead of the entire screen). The button on the print screen can also be labeled as “PrtScn,” “PrntScrn,” “Print Scr,” or similar.
The key is normally discovered between F12 and Scroll Lock on most keyboards. You may need to click the “Function” or “Fn” button to access the Print Screen function on laptop keyboards. When you click the button, it looks like nothing occurred, but the screenshot is stored in your clipboard.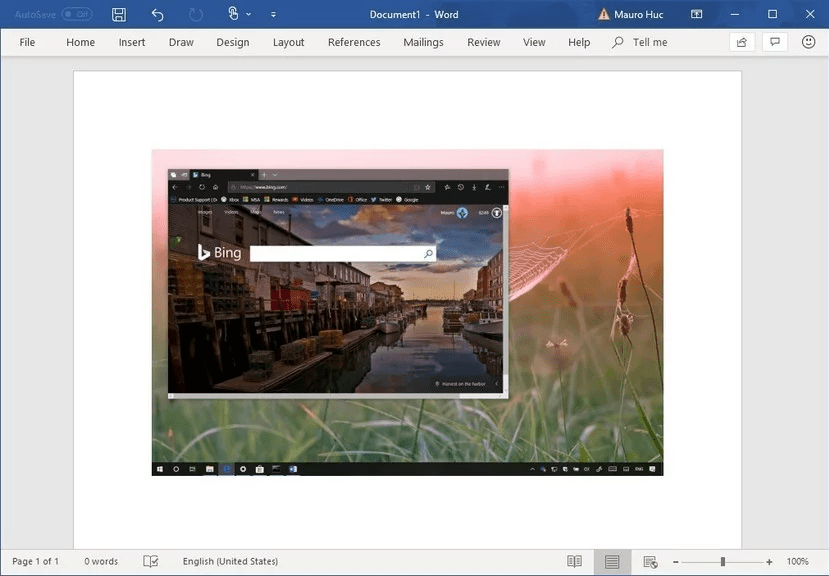
In an app that deals with pictures like Paint, Paint 3D, or even Photoshop, you need to take additional measures to unlock and save your picture. Just paste Ctrl-V into one of those applications when you’re in a fresh paper, and then you can go to town with editing, and lastly save the picture to your chosen directory.
Windows key + PrtScrn:
How to save the entire screen to file –
- Windows key + PrtScrn:
A screenshot of the whole panel will be saved to an image file using this shortcut. All captures using this technique will be saved inside the Pictures file in the Screenshots folders.
2. Alt + PrtScrn:
You can grab an active window screenshot using this combination. The snapshot is copied to the clipboard and then you can insert it into any app.
Method 2- By the use of the Snipping Tool
Snipping Tool continues in Windows 10, although Snip & Sketch has overridden it. If you’re clinging to Windows 7 (or earlier versions— horrors —), you won’t have the choice to use Snip & Sketch (detailed above), so Snipping Tool is for you. You will need to operate the utility to use this; clicking “snipping” in the search box on the bottom part of the Windows search box and pressing the Snipping Tool will start.
Snipping Tool, like Snip & Sketch, allows you to catch free or rectangular choices or the complete picture or window. You can also delay a screenshot from one to five seconds in time. It also allows you to label with a pen or highlighter your picture. As mentioned above, Snip & Sketch does all that, adding, a ruler, and a pencil.
Method 3- Taking screenshots using Microsoft Edge
Users of Microsoft Edge can also grab screenshots of any web page they view and save it to OneNote or share it with others using the notes functionality.
Steps to taking a snapshot:-
- After opening Microsoft edge click the Add notes button in the toolbar and save it.
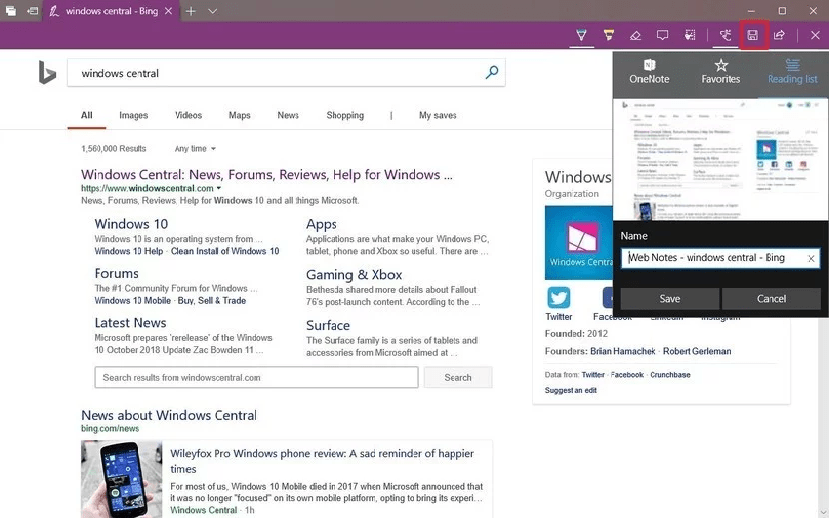
- Select one-note and save it.
You can also press the Share button to add the picture with others via email or social media.
Read also : Best Free Cloud Storage and File-Sharing Services in 2019
Method 4- Taking screenshots using Surface
If you own a Surface device, screenshots can also be taken with and without the keyboard in a number of ways.
1. Fn + Spacebar: Store in the clipboard the screenshot of the whole display, which you can then insert into any software.
2. Fn + Windows key + Spacebar: This shortcut requires a screenshot and retains the picture inside the Screenshots file in the Pictures file.
3. Power button + volume down: It takes a screenshot on pc of the entire screen on supported devices, such as Surface Pro 6 and older models, and saves the image to the Screenshots folder.
4. Fn + Alt + Spacebar: Takes the clipboard with a screenshot of a screen, which you can then insert into any application.
5. Double-click the Surface Pentop button: You can double-click the top button if you are using any Surface tool, pick a region of the display that you want to catch by moving the pen from one corner to the other. Your choice will be sent to a fresh section in OneNote as you lift the pen from the display.
Read also: How to remove Dllhost.exe and Fix: COM Surrogate has stopped working (dllhost.exe) 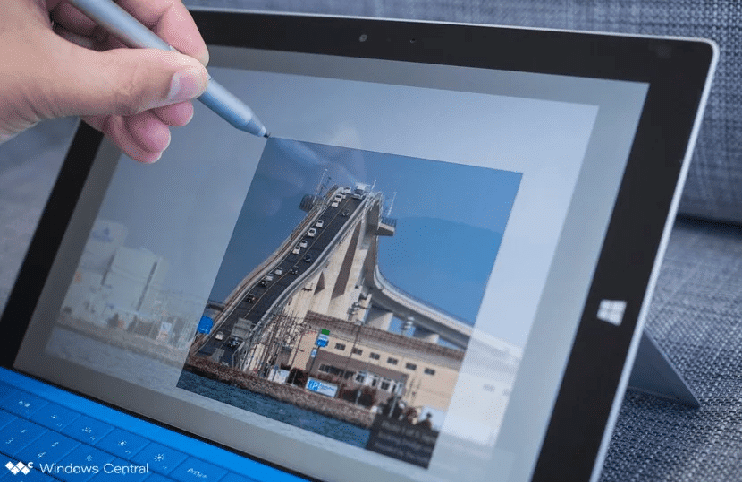
Of course, this function only operates if you use the Send screenshot to OneNote choice for the “Double-click” environment on Settings > Devices > Pen & Windows Ink.
Method 5- Taking screenshots using Game Bar
Windows Key-G launches the Game bar in it’s Broadcast & Capture chapter, which contains an object that looks like a camera. Tap that and save your screenshot to the Videos / Captures directory under your primary client directory (somewhat counterintuitive).
You can also use the Game Bar to take screenshots of your favorite games on Windows 10.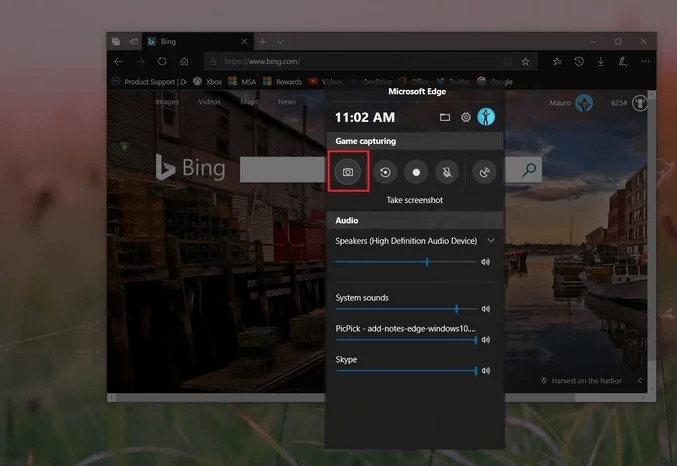
Steps to take a screenshot using game bar-
- First of all, click start and search for the game bar.
- Click the Camera key to grab the screenshot under “Game capture.”
- The capture will be saved as a.png file in the Screenshots folder after completing the steps.
This screen capture function is restricted to games like some Microsoft Edge applications, but this function may not operate to capture File Explorer or desktop screenshots.
Also Read: How to Stop Apple, Amazon, and Google from listening to your Siri, Alexa, and Assistant recordings
Method 6: Take More Powerful Screenshots the Easy Way with Snagit
All integrated techniques of Windows have their own advantages and disadvantages. However, if you take a bunch of screenshots and want more flexibility than the built-in instruments, your greatest choice is a third-party instrument.
Must visit: How to Fix Chromecast Not Casting Issue? Step by Step 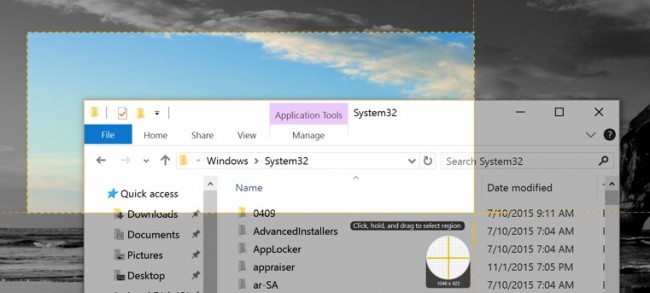
Snagit also involves sophisticated instruments such as window screenshot instruments for graphics and scrolling. It provides useful instruments for image editing and drawing, including brightness, arrows, overlay of text, and boundaries. The downside? A Snagit permit will put you back $49.95, but it’s worth the cash for those who need its sophisticated feature.
READ ALSO:
- How To Delete and Temporarily Deactivate Your Kik Account
- Asus Zenfone 6 2019 (Zenfone 6z) Price in India June 2019, Specifications, Release Date
- Samsung Galaxy Note10 Pro Specification
- HR E-Mail Id’s
- Free Movies & TV Serials Download Sites For 2019
- How To Password Protect a Folder in Windows by cmd without any software
- Source Code for final year college student
- How to Download Video and Audio from YouTube for free


![How to Hack Facebook, Twitter, Gmail Using KeyLogger [Kali Linux – BeeLogger]](http://www.mrevery.com/wp-content/uploads/2020/06/How-to-Hack-Facebook-Twitter-Gmail-Using-KeyLogger-Kali-Linux-BeeLogger-800x450.jpg)